Adding cobblestone edging to your landscape is a timeless way to create defined borders for gardens, pathways, and driveways. Not only does it enhance your property’s curb appeal, but cobblestone is also incredibly durable, able to withstand weathering and foot traffic for decades. Whether you want to add a rustic touch to a garden bed or neatly frame your walkway, learning how to install cobblestone edging properly is essential for achieving long-lasting results.
This guide will provide step-by-step instructions on installing cobblestone edging in 2025, along with expert tips for maintaining it.
Why Choose Cobblestone Edging for Your Landscape?
Cobblestone is a versatile and durable material that elevates both the functionality and appearance of your outdoor spaces.

Timeless Aesthetic Appeal
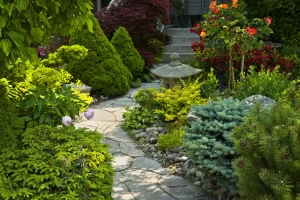
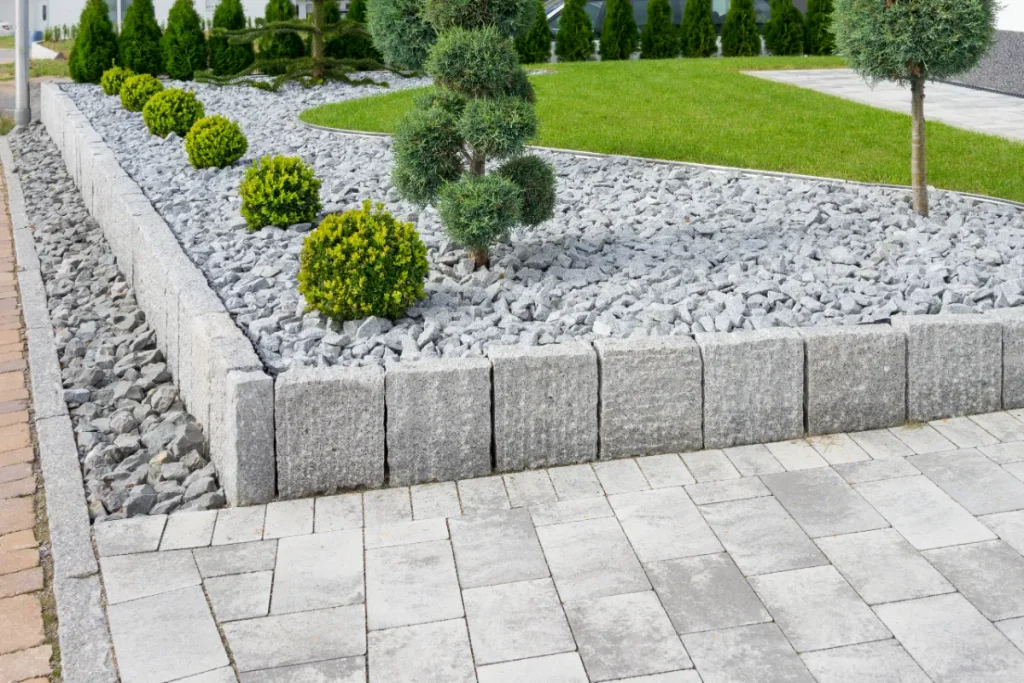
Cobblestones have been used in landscaping for centuries due to their classic, old-world charm. Their natural shapes and textures blend seamlessly with various styles, from formal gardens to rustic paths. Installing cobblestone edging creates clear boundaries that add a polished look to your landscape while enhancing its overall character.
Additionally, cobblestones come in a variety of colors, including gray, beige, and red tones, making it easy to match them with your home’s architecture or surrounding hardscaping elements. Their timeless appeal ensures that your landscape remains elegant for years to come.
Durability and Functionality
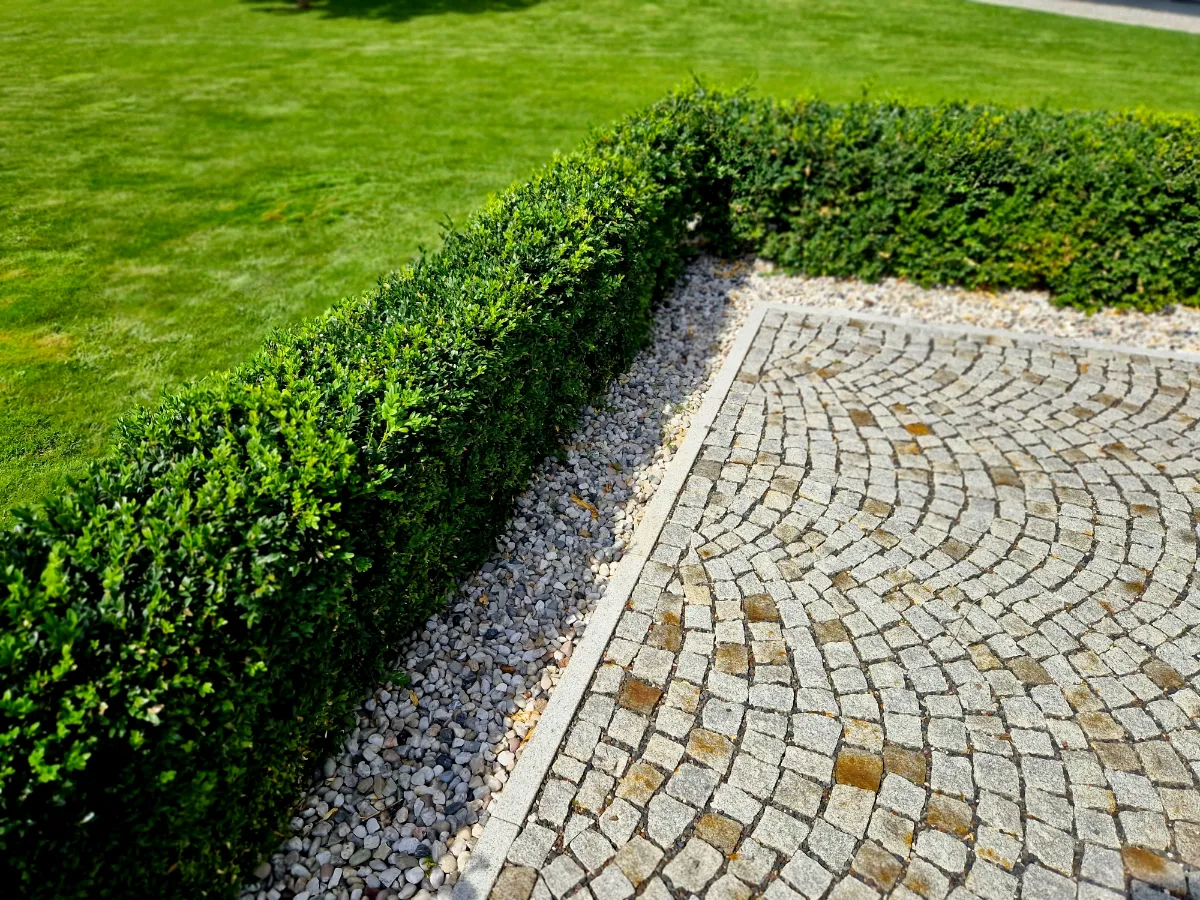
Cobblestones are known for their strength and resilience. Made from natural stone, they can withstand extreme weather conditions, including freezing and thawing cycles, without cracking or shifting. This makes cobblestone edging an ideal choice for areas with heavy foot traffic or frequent exposure to water.In addition to durability, cobblestone edging helps maintain the structure of your landscape by preventing soil erosion and keeping mulch or gravel in place. It also serves as a barrier that discourages grass and weeds from spreading into garden beds or pathways.
Tools and Materials You’ll Need for Installing Cobblestone Edging
Before starting your project, gather the necessary tools and materials to ensure a smooth installation process.
Essential Tools
To install cobblestone edging, you’ll need a variety of tools, including a shovel for digging trenches, a tamper for compacting the base, and a rubber mallet to position the cobblestones without damaging them. A level will help you keep the stones even, while a string line can guide you in creating straight or curved edges.
For cutting cobblestones to fit your design, you’ll need a stone chisel or an angle grinder with a diamond blade. Don’t forget protective gear, such as gloves, goggles, and ear protection, to stay safe while working with heavy materials.
Required Materials
The main materials for this project include cobblestones, sand, and gravel. Choose cobblestones that are thick enough to withstand wear, ideally around 4 to 6 inches in height. Gravel will form the base layer, providing stability and drainage, while sand helps level the stones during installation. You may also need mortar if you prefer a more permanent installation.
Having all tools and materials ready in advance will help you avoid delays and keep your project on track.
Preparing the Area for Cobblestone Edging
A well-prepared site is key to ensuring that your cobblestone edging is stable and long-lasting.
Marking and Planning the Layout
Begin by marking the area where you want to install the cobblestone edging. Use stakes and string to outline straight edges or garden hoses to define curved lines. Measure the dimensions to ensure that your design fits the space and matches your landscaping goals.
Careful planning helps prevent errors during installation and allows you to visualize the final result. Adjust the layout as needed to achieve a balanced and harmonious design.
Excavating the Trench
Once the layout is marked, excavate a trench along the path where the cobblestone edging will be installed. The trench should be deep enough to accommodate the height of the cobblestones, typically around 6 to 8 inches. Remove all grass, roots, and debris to create a clean foundation.
To ensure proper drainage, you may need to dig slightly deeper and add a 2- to 3-inch layer of gravel at the bottom of the trench. Compact the gravel with a tamper to create a stable base.
Laying the Cobblestones
With the trench prepared, it’s time to position the cobblestones and create a defined edge.
Positioning the Stones
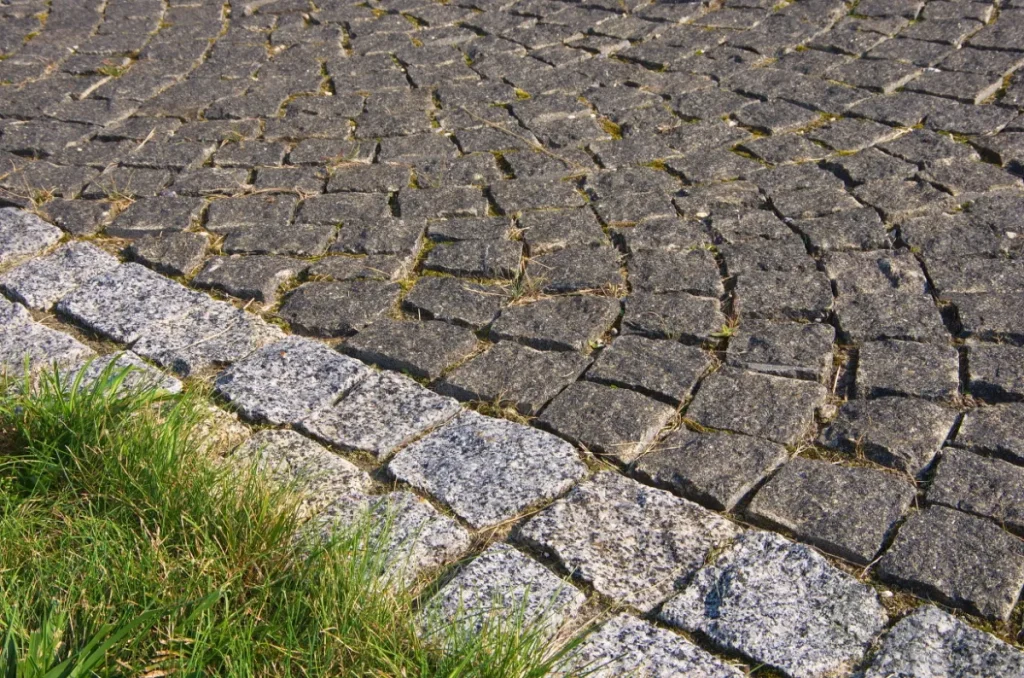
Start by placing the largest cobblestones at key points, such as corners or entryways, to anchor the design. Position the remaining stones along the trench, leaving small gaps between them for a natural look. Use a rubber mallet to tap each stone into place, ensuring it sits firmly on the base.
Check the alignment regularly with a level and string line. Adjust the stones as needed to maintain a consistent height and even spacing. This step is crucial for achieving a polished and professional appearance.
Filling the Gaps
After positioning all the cobblestones, fill the gaps between them with sand or mortar. For a more secure installation, consider using polymeric sand, which hardens when wet and helps prevent weed growth. Sweep the sand into the joints, then lightly mist the surface with water to settle the material.
If you’re using mortar, apply it carefully to avoid smearing the cobblestones. Allow the mortar to cure for at least 24 hours before walking on the edging.
Maintaining Your Cobblestone Edging
Proper maintenance ensures that your cobblestone edging remains attractive and functional for years.
Regular Cleaning
Sweep the cobblestone edging regularly to remove dirt, leaves, and debris. For deeper cleaning, use a hose or pressure washer to rinse the stones. Avoid using harsh chemicals that could damage the stone or surrounding plants.
Inspecting for Shifting or Damage
Inspect the edging periodically for signs of shifting or loose stones. If any stones have moved out of place, gently tap them back into position with a rubber mallet. Reapply sand or mortar to the joints as needed to maintain stability.
Preventing weeds is another important aspect of maintenance. Regularly check for weeds growing between the stones and remove them promptly to keep the edging neat and weed-free.
Additional Tips for Enhancing Your Cobblestone Edging
Adding Decorative Features
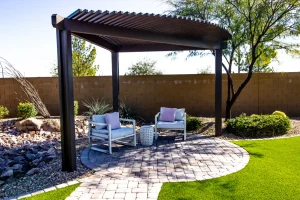
Enhance your cobblestone edging by incorporating decorative features like landscape lighting or garden ornaments. Solar-powered lights installed along the edging can create a dramatic effect at night while improving safety and visibility.
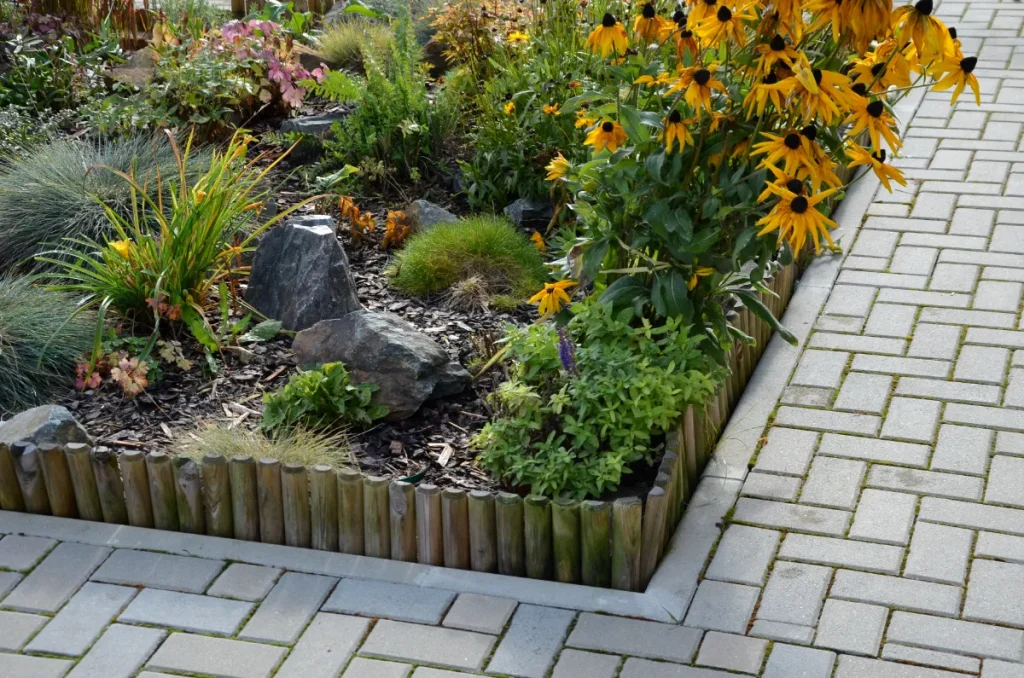
H3: Integrating Plants and Mulch
For a softer, more natural look, plant low-growing flowers or ground cover alongside the cobblestones. Adding a layer of mulch can also help retain moisture, prevent weeds, and create contrast with the stone edging. This approach enhances both the aesthetic and practical aspects of your landscape design.
FAQs
1. How deep should I dig the trench for cobblestone edging?
The trench should be about 6 to 8 inches deep to accommodate the cobblestones and base material.
2. Can I install cobblestone edging without mortar?
Yes, you can install cobblestones using sand or polymeric sand for a flexible yet stable installation. Mortar provides a more permanent option.
3. How do I prevent weeds between cobblestones?
Use polymeric sand to fill the joints between cobblestones. It hardens when wet and helps block weed growth.
4. How often should I reseal cobblestones?
If sealed, cobblestones may require resealing every 2-3 years to protect them from stains and moisture.5. Can I install cobblestone edging myself?
Yes, with the right tools and preparation, cobblestone edging can be a DIY-friendly project. Hiring a professional may ensure more precise results.
H2: Conclusion
Installing cobblestone edging is a rewarding project that enhances your landscape with both beauty and durability. By following these steps—preparing the site, positioning the stones, and maintaining the edging—you can create a stunning border that lasts for decades.At Lompoc Stone, we offer premium natural stone products to help bring your landscaping vision to life. Contact us today to explore our collection of high-quality cobblestones and other natural stone options. Let’s transform your outdoor space together!