Flagstone floor tiles add rustic elegance and long-lasting durability to indoor and outdoor spaces. Their natural appearance, strength, and unique textures make them a popular choice for areas like patios, kitchens, and entryways. In this guide by Lompoc Stone, we’ll cover the entire process of installing flagstone floor tiles, from preparation to finishing touches, ensuring a successful DIY project that enhances your home’s beauty.
For patterned layouts, explore our guide to custom cut stone tile in Versailles patterns.
Understanding Flagstone Floor Tiles
Before beginning your project, it’s crucial to understand the qualities of flagstone floor tiles. They are widely used for their natural aesthetics, strength, and resistance to wear and tear. Whether you’re covering a patio, living room, or walkway, flagstone tiles offer unmatched durability and a one-of-a-kind look.
What Are Flagstone Floor Tiles?
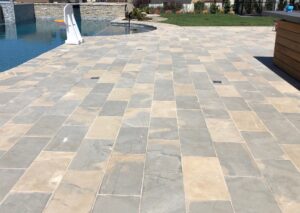
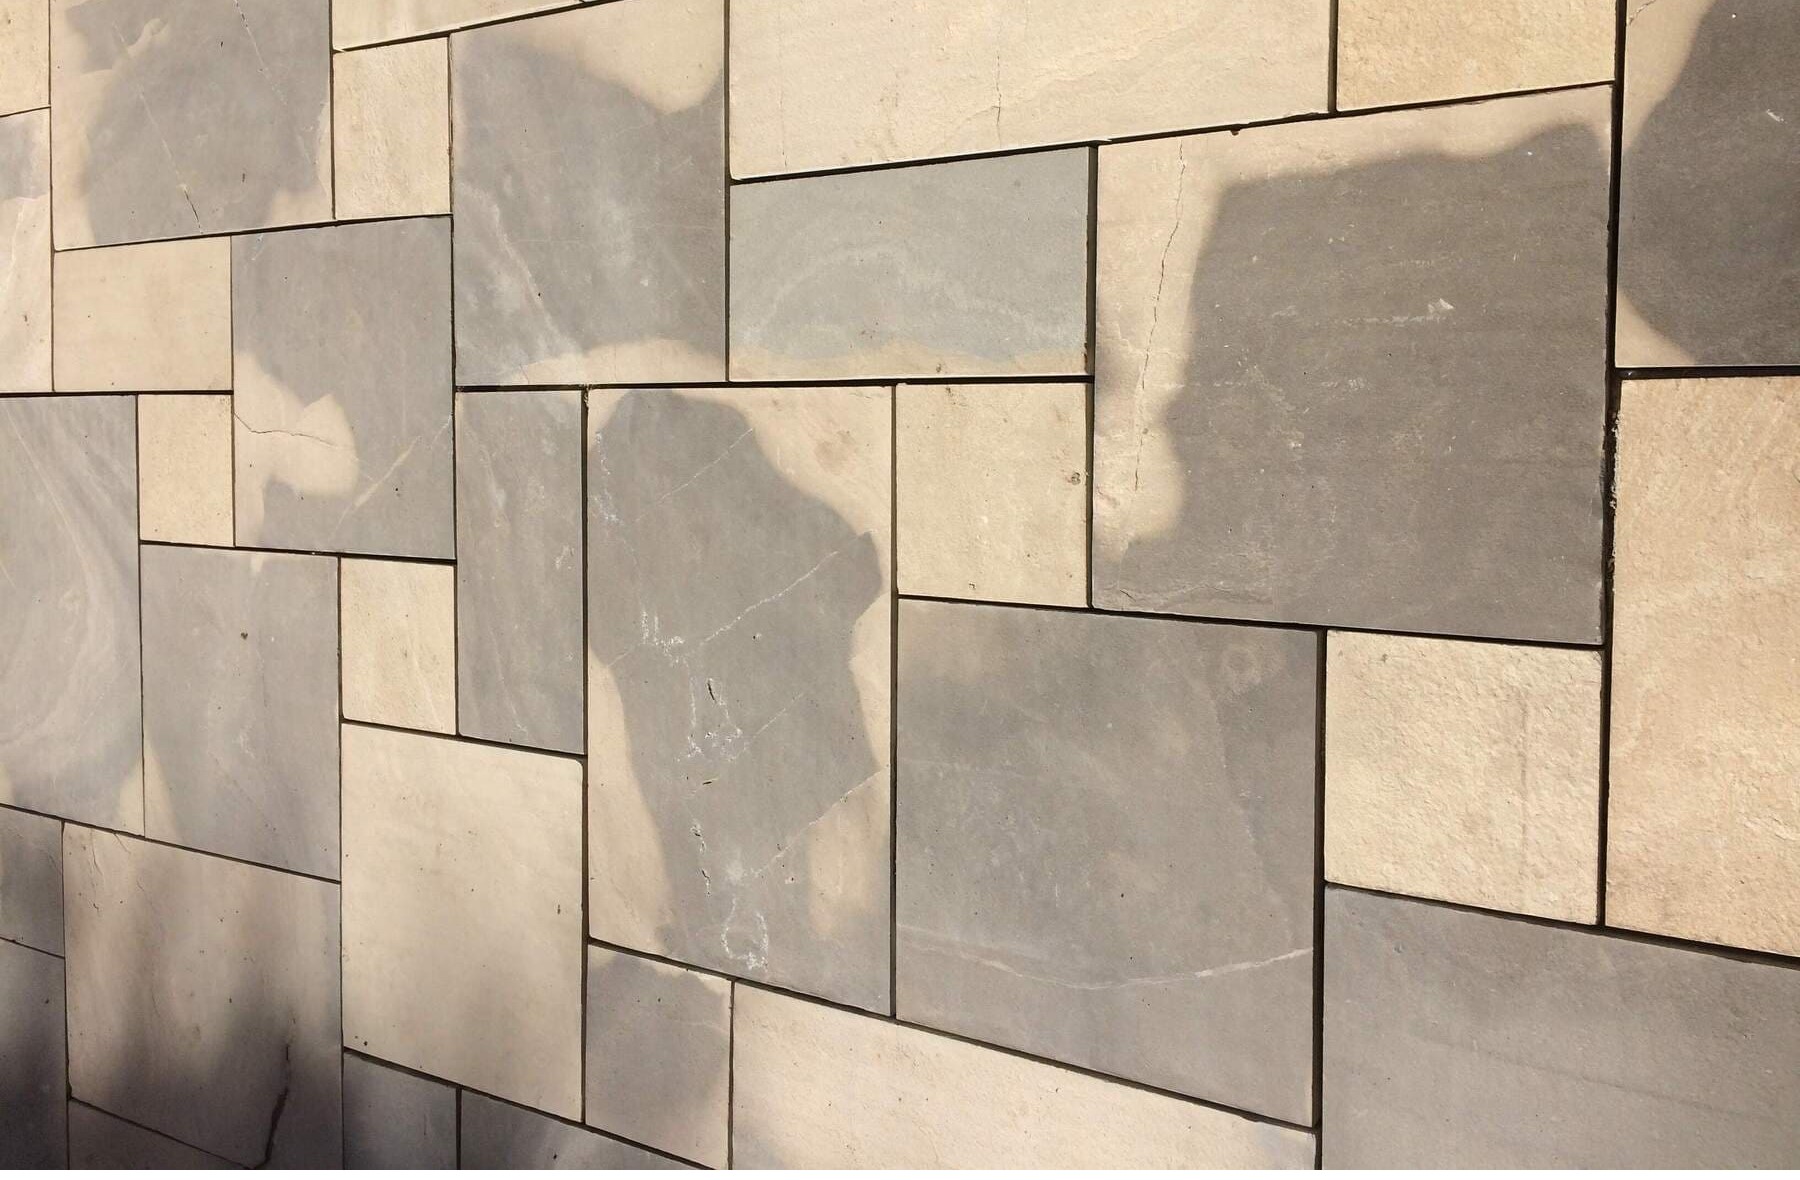
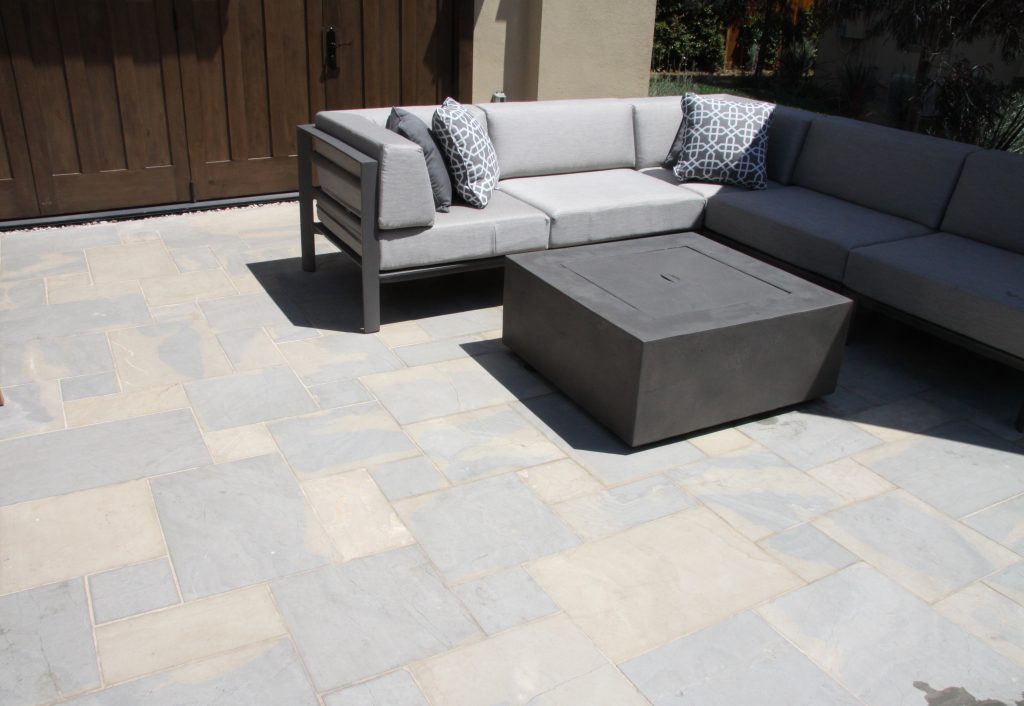
Flagstone floor tiles are slabs of natural stone cut into flat pieces of varying shapes and sizes. They are often used in flooring due to their strength and resistance to weather, making them suitable for both interior and exterior installations. Their distinctive earthy tones and irregular surfaces create a warm and inviting appearance, adding character and uniqueness to any setting.
Why Choose Flagstone Floor Tiles?
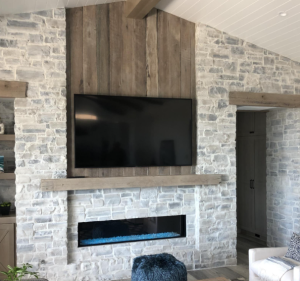
Flagstone tiles are a top choice for homeowners because of their exceptional durability and timeless appeal. They can withstand heavy foot traffic and exposure to outdoor elements, ensuring they last for decades. Their textured surfaces provide natural slip resistance, making them ideal for areas prone to moisture, such as pool decks and bathrooms. Additionally, their wide variety of colors, patterns, and finishes allows for customized designs that reflect your personal style.
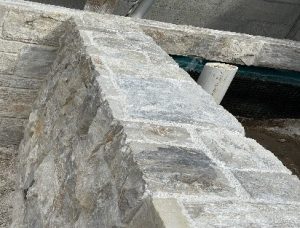
If you’re building a garden wall, learn how to install wall caps for a clean finish.
Tools and Materials Needed for Installation
Having the right tools and materials is essential for a successful installation. Proper preparation ensures smooth progress and professional-looking results.
Essential Tools
Installing flagstone floor tiles requires several specialized tools. A notched trowel is necessary for spreading mortar evenly on the installation surface. A wet saw is essential for cutting tiles to fit specific dimensions, ensuring clean and precise edges. Use a rubber mallet to tap tiles gently into place, helping them adhere securely. A grout float will allow you to apply grout smoothly between tiles, while a level and measuring tape ensure proper alignment throughout the installation process.
Necessary Materials
The most important material is, of course, the flagstone floor tiles themselves. Choose tiles that fit your desired style and functional needs. You will also need mortar to secure the tiles to the surface and grout to fill the joints between them. A high-quality tile sealer is essential to protect the surface from moisture, stains, and general wear. Tile spacers ensure even grout lines, while a floor leveling compound helps create a smooth and level base.
For outdoor inspiration, check out our favorite flagstone walkway ideas for 2026
Step 1: Preparing the Installation Area
Properly preparing the installation area is critical for ensuring a long-lasting and visually appealing floor. A clean and level surface prevents shifting, cracking, and uneven tiles.
Clear and Clean the Surface
Start by clearing the installation area of any furniture, appliances, or debris. Sweep and vacuum the surface thoroughly to remove all dirt and dust particles. This step ensures that the tiles will adhere securely without being compromised by contaminants. A clean surface is a key factor in preventing installation problems down the road.
After installation, our guide on how to clean flagstone like a pro helps maintain long-term beauty.
Level the Floor
Inspect the floor for any uneven spots or depressions. If needed, apply a floor leveling compound to smooth out irregularities. Spread the compound evenly using a trowel and allow it to dry according to the manufacturer’s instructions. A properly leveled floor provides a stable foundation that minimizes the risk of tile movement or cracking over time.
Step 2: Laying Out the Flagstone Floor Tiles
Careful planning of the tile layout ensures a professional-looking result with minimal cuts and waste. This step also helps avoid misaligned tiles during the installation process.
Plan the Tile Arrangement
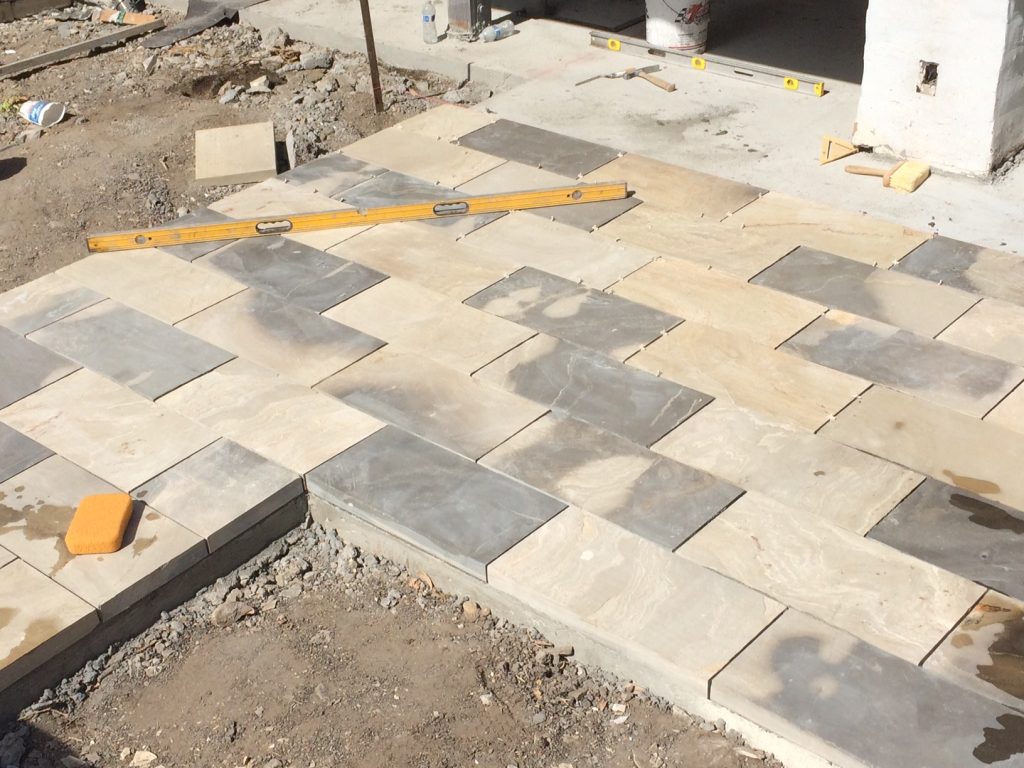
Begin by dry-laying the flagstone tiles on the floor without using mortar. This process allows you to experiment with different patterns and find the most aesthetically pleasing arrangement. Start from the center of the room and work outward to achieve a balanced design. Adjust the layout as needed, especially in high-visibility areas where symmetry is important.
Mark Guide Lines
Once you’re satisfied with the arrangement, use chalk lines to mark guidelines on the floor. These lines will serve as a reference while placing the tiles to ensure a straight and even layout. Marking guide lines is particularly useful for large areas or complex designs, helping maintain consistent alignment as you work through the installation.
Step 3: Applying Mortar and Setting Tiles
Proper application of mortar and careful tile placement ensure a secure and stable floor that can withstand everyday use.
Spread the Mortar
Use a notched trowel to apply a layer of mortar over a small section of the floor. Spread the mortar evenly, holding the trowel at a 45-degree angle to create ridges. Working in small sections prevents the mortar from drying out before you can set the tiles. Ensure that the mortar layer is thick enough to provide strong adhesion but not so thick that it oozes between the tiles.
Set the Tiles
Place each flagstone tile firmly into the mortar, pressing down evenly. Use a slight twisting motion to create a strong bond. Tap the tiles gently with a rubber mallet to ensure they are securely set and properly aligned. Use tile spacers to maintain consistent spacing between tiles, and regularly check for levelness with a spirit level. Making adjustments as you go prevents problems later in the process.
Step 4: Grouting the Flagstone Floor Tiles
Grouting the flagstone floor tiles fills the joints between the stones, providing a finished and cohesive appearance. Proper grouting also strengthens the floor by preventing moisture from seeping beneath the tiles.
Apply the Grout
Once the mortar has fully cured, remove the tile spacers and prepare the grout according to the manufacturer’s instructions. Use a grout float to press the grout into the joints between the flagstone tiles. Hold the float at a 45-degree angle and work the grout into the gaps thoroughly, ensuring there are no air pockets. Continue applying grout in small sections to maintain control and precision throughout the process.
Clean the Surface
After applying grout, allow it to set for about 15-20 minutes or until it begins to harden slightly. Use a damp sponge to wipe away excess grout from the tile surface. Rinse the sponge frequently to avoid spreading grout residue. Be careful not to remove grout from the joints while cleaning. After the grout has dried completely, use a dry cloth or mop to remove any remaining grout haze for a clean, polished look.
Step 5: Sealing and Finishing Touches
Sealing the flagstone tiles enhances their natural beauty and protects them from moisture, stains, and wear.
Adding finishing touches ensures the installation looks professional and lasts for years.
Apply a Tile Sealer
Choose a high-quality stone sealer specifically designed for natural stones like flagstone. Apply the sealer using a clean cloth, roller, or spray applicator, following the manufacturer’s instructions. Ensure even coverage across the entire floor, focusing on grout lines and any porous areas. Allow the sealer to dry completely before walking on the floor or placing furniture back in the space. Sealing also intensifies the color and texture of the stone, enhancing its visual appeal.
Inspect the Finished Floor
Once the sealer has dried, inspect the entire floor for any missed grout spots, uneven tiles, or areas requiring additional sealing. Make any necessary touch-ups to ensure a flawless, professional finish. Regular inspections and maintenance will keep the flagstone floor tiles looking new for years to come.
Outdoor paths follow similar principles; learn how to install a flagstone walkway in concrete.
FAQ Section
Q1: Can I install flagstone floor tiles indoors?
Yes, flagstone tiles are suitable for both indoor and outdoor installations due to their durability, natural appearance, and resistance to wear and tear.
Q2: How thick should flagstone floor tiles be?
For indoor flooring, flagstone tiles should typically be 1 to 2 inches thick, depending on the level of foot traffic and the underlying surface.
Q3: Do flagstone tiles need to be sealed?
Yes, sealing flagstone tiles is highly recommended to protect them from moisture, stains, and daily wear. Sealing also enhances their natural beauty by highlighting their color and texture.
Q4: How do I maintain flagstone floors?
Regularly sweep and mop flagstone floors to remove dirt and debris. Avoid using harsh chemicals, which can damage the stone’s finish. Reseal the tiles as needed to maintain their protective layer.Q5: Can I install flagstone tiles over a concrete surface?
Yes, a clean, level concrete surface is ideal for installing flagstone floor tiles. Ensure the surface is free of debris, cracks, or uneven spots for the best results.
Conclusion
Installing flagstone floor tiles is a rewarding project that can enhance the beauty and functionality of any space. With proper planning, the right tools, and attention to detail, even beginners can achieve professional results. For the best quality materials, trust Lompoc Stone, a leading supplier of premium natural stones. Our extensive selection of flagstone tiles in various colors and textures ensures you’ll find the perfect fit for your project. Visit our website to explore their premium product range and start your next flooring project with confidence.