Building a flagstone wall can transform your outdoor space into a stunning and functional landscape feature. Whether for a retaining wall, garden border, or decorative focal point, flagstone offers unmatched natural beauty and long-lasting durability. This comprehensive guide will take you through each step, ensuring your wall stands the test of time while enhancing your outdoor living space.
Understanding the Basics of a Flagstone Wall
Before starting your flagstone wall project, it’s essential to understand why flagstone is such a popular choice. Known for its rustic charm, durability, and versatility, flagstone can be used in various landscaping designs. Learning about its benefits and uses will help you maximize its potential in your wall construction.
What is Flagstone and Why Use It for Walls?
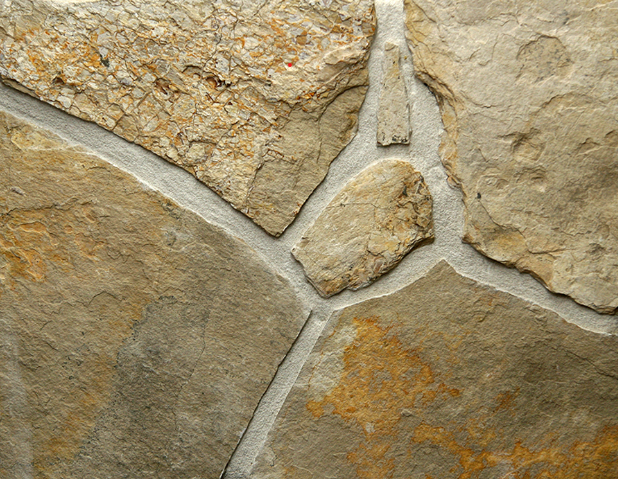
Flagstone is a sedimentary rock cut into flat slabs, commonly used for walls, patios, and walkways. Its natural colors, textures, and irregular shapes create a timeless, rustic appearance that blends seamlessly with outdoor environments. The stone’s ability to withstand harsh weather makes it ideal for outdoor projects that require durability and beauty.
Benefits of a Flagstone Wall for Your Property
A flagstone wall offers several advantages that make it a preferred choice for both homeowners and landscapers. Its aesthetic appeal enhances the overall look of any outdoor space, providing a natural and elegant finish. Flagstone walls are long-lasting and, when built correctly, can endure for decades with minimal maintenance. Additionally, its versatility allows for endless design possibilities, making it suitable for both decorative and structural purposes.
Tools and Materials Needed for Building a Flagstone Wall
To ensure a smooth and efficient building process, gathering the right tools and materials is crucial.
Having everything on hand before you start can save time and prevent interruptions during construction.
Essential Tools
Building a flagstone wall requires specific tools for cutting, measuring, and securing the stones. A shovel and spade are essential for digging and leveling the ground. A mason’s hammer and chisel allow you to shape the stones for a more precise fit. Use a wheelbarrow to transport heavy materials like flagstones and gravel. Lastly, a level and measuring tape ensure your wall remains straight and properly aligned throughout the project.
Materials Required
The primary material for your project is, of course, flagstones. Choose stones that fit your desired wall height and design style. Gravel and sand are essential for creating a solid foundation that supports the wall and aids in drainage. Depending on your construction method, you may need mortar for added stability or prefer a dry-stack technique that relies solely on the weight of the stones for structural integrity.
Step 1: Planning and Designing Your Flagstone Wall
Planning and designing your flagstone wall is the first and most critical step toward a successful project.
Proper planning minimizes costly mistakes and ensures that the final product matches your expectations.
Choose the Right Location
Selecting the right location is essential for a functional and visually pleasing wall. Consider the wall’s intended purpose, whether as a garden border, retaining wall, or decorative element. Ensure the site has proper drainage to avoid water buildup behind the wall. Check local building codes to comply with any regulations that may affect your design.
Measure and Sketch Your Wall
Accurate measurements and a detailed sketch are vital for planning your wall’s layout. Measure the length, height, and thickness of the wall to determine the amount of materials needed. Include any curves or special design elements in your sketch to ensure precise construction when you begin building.
Step 2: Preparing the Groundwork
The success of your flagstone wall depends heavily on a well-prepared foundation. A sturdy base prevents shifting, cracking, and collapse over time.
Mark the Wall’s Footprint
Start by marking the wall’s intended location using stakes and string. This outline serves as a guide during construction and helps maintain straight or smoothly curved lines, depending on your design. Be precise when marking corners and curves to ensure a clean, professional look.
Excavate the Area
Once the wall’s outline is set, excavate the area to the appropriate depth. A trench that is about 6 to 12 inches deep will provide enough space for a strong base. Ensure the width of the trench is slightly larger than the base of the wall to accommodate support materials like gravel and sand.
Add a Base Layer
After excavating the area, create a base layer by filling the trench with crushed stone or gravel. Compact this layer thoroughly to create a stable and level foundation. This step prevents the wall from shifting and helps with water drainage, ensuring long-term stability.
Step 3: Laying the First Course of Flagstones
The first course of stones is the most important part of building a stackable natural stone wall. Proper placement at this stage sets a strong foundation, ensuring stability and making it easier to install subsequent layers.

Level the First Stones
Begin by selecting the largest and flattest flagstones for the first course. These stones provide a strong and stable base. Carefully place each stone on the compacted base, ensuring they fit tightly together. Use a level frequently to ensure the stones are perfectly even, adjusting as needed with a rubber mallet or adding extra gravel under uneven areas.
Check Stability
Once the first course is laid, inspect the stones for any wobbling or instability. A solid base prevents the wall from collapsing over time. Fill any small gaps with crushed stone or gravel to secure the stones further and prevent movement. Taking extra care at this stage will save time and effort later in the construction process.
Step 4: Building the Wall Upwards
As you begin stacking stones, maintaining balance and stability is critical to ensure the wall’s long-term durability. Use a combination of larger and smaller stones to create a secure and visually appealing structure.
Stagger the Stones
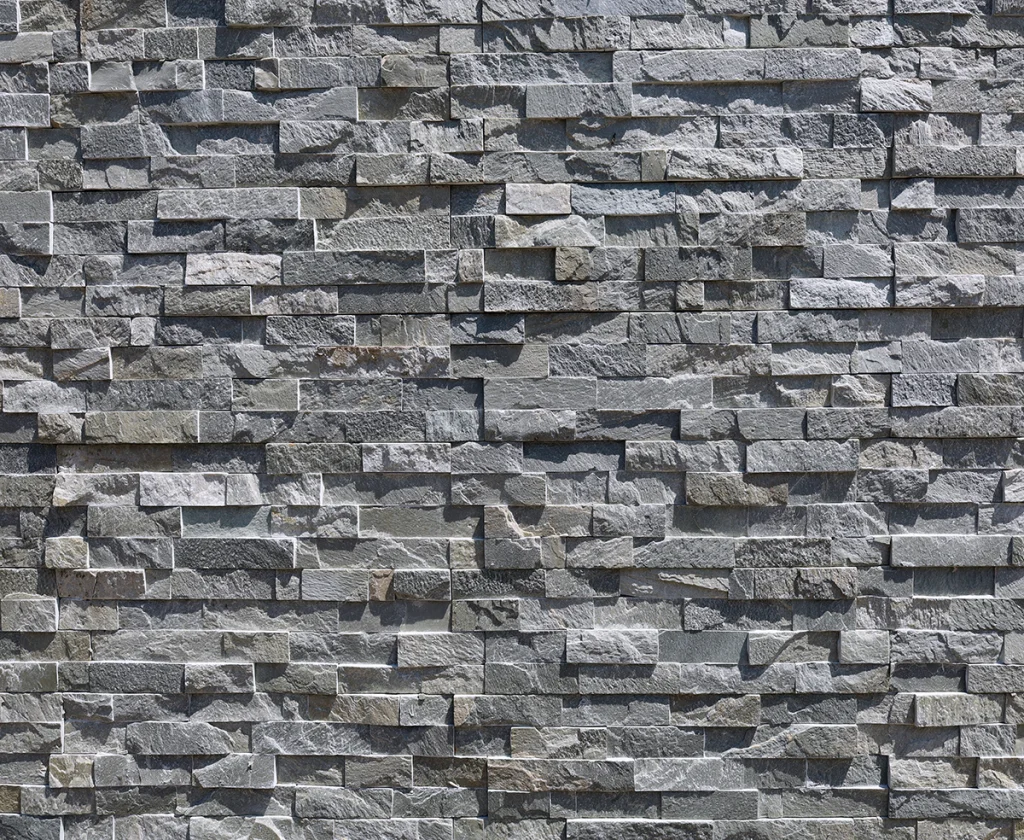
Staggering the stones is essential for the wall’s stability and aesthetics. Avoid creating vertical seams by overlapping stones in each row. This interlocking pattern helps distribute the wall’s weight evenly and increases overall strength. The irregular shapes of flagstones naturally encourage a random, but secure, layout.
Fill Gaps
As you build, you’ll notice gaps between some stones due to their irregular shapes. Use smaller stones or pieces of flagstone to fill these spaces. Not only does this add strength to the structure, but it also enhances the wall’s natural, rustic appearance.
Use Mortar or Dry Stack Technique
Depending on your design preference, choose between a mortar-based or dry-stack technique. If using mortar, apply a thick layer between each stone and smooth out excess with a trowel. Dry-stacking relies on precise stone placement, requiring extra care during stacking. This method is ideal for a more natural and environmentally friendly look.
Step 5: Shaping and Trimming the Stones
Shaping and trimming stones ensures a snug fit and professional appearance, contributing to the stability and visual appeal of your wall.

Using a Mason’s Hammer and Chisel
Score the stone along the desired cutting line by tapping lightly with the chisel. Then, apply a stronger blow to split the stone. This technique creates a rough but natural edge that blends well with the wall’s overall texture.
Maintain Consistency
Although flagstones are inherently irregular, aim for a degree of consistency in stone size and placement. Try to balance larger stones with smaller filler pieces to maintain a cohesive appearance. Uniformity in stone height ensures that each layer aligns properly, creating a polished and visually pleasing wall.
Step 6: Final Touches and Reinforcements
Once the wall structure is complete, reinforcing and adding finishing touches ensures long-term stability and visual appeal.
Backfill with Gravel or Soil
Backfilling the area behind the wall with gravel, crushed stone, or soil provides extra support and improves drainage. Proper backfilling reduces pressure on the wall and prevents water buildup, which can cause the wall to shift or collapse over time.
Seal the Wall
Applying a stone sealer enhances the wall’s appearance by bringing out the natural color and texture of the flagstones. Sealing also protects the stones from weather damage, water absorption, and stains. Choose a sealer designed specifically for natural stone to maintain the wall’s beauty and durability.
Step 7: Maintaining Your Flagstone Wall
Regular maintenance keeps your flagstone wall in excellent condition for years. Inspections and cleaning ensure the structure remains solid and visually appealing.
Inspect for Damage
Inspect the wall periodically for signs of wear, such as cracks, loose stones, or shifting. Pay particular attention after heavy rains or freezing weather, which can cause expansion and movement in the wall. Addressing minor issues early prevents more extensive damage down the line.
Clean the Wall
To maintain the wall’s natural beauty, clean it regularly by removing dirt, moss, and debris. Use a soft-bristled brush and mild detergent to gently scrub the stones. Avoid harsh chemicals that could damage the stone’s natural finish. Consistent cleaning keeps the wall looking fresh and well-maintained.
FAQs
What is the ideal height for a flagstone wall?
The ideal height depends on the wall’s purpose. Retaining walls should typically be between 3-4 feet for structural stability, while decorative walls can be shorter, around 2-3 feet.
Do I need a permit to build a flagstone wall?
Permit requirements vary by location. Check local building codes, especially for walls over 4 feet tall, as they may require engineering approval.
Can I build a curved flagstone wall?
Yes, flagstones are perfect for curved walls due to their irregular shapes. Careful stone placement and shaping allow for smooth, flowing curves.
How long does a flagstone wall last?
With proper construction and maintenance, a flagstone wall can last for decades or even a lifetime. Regular inspections and prompt repairs extend its lifespan.
Is mortar necessary for building a flagstone wall?
Mortar is optional. A mortar-based wall offers extra stability, while a dry-stack wall provides a more rustic appearance and eco-friendly design. Choose the method that best fits your project goals.
Conclusion
Building a flagstone wall is a rewarding project that enhances both the beauty and functionality of any outdoor space. By following these steps, you can create a durable and visually stunning wall that lasts for years.
To achieve the best results, consider sourcing premium natural stone from Lompoc Stone, a trusted supplier known for high-quality materials. With a wide selection of flagstones in various colors and textures, Lompoc Stone ensures your project stands out with timeless elegance. Visit our website to explore the perfect stone options for your next landscaping endeavor.